Introduction:
Kefir, a fermented milk drink with origins in the Caucasus Mountains, has gained significant popularity due to its numerous health benefits. Rich in probiotics, vitamins, and minerals, kefir is often touted as a superfood. However, many enthusiasts wonder if they can use store-bought kefir to make their own at home. This article delves into the feasibility of this practice, exploring the basics of store-bought kefir, its key ingredients, and the steps to successfully make kefir at home. Additionally, we will address common issues that may arise during the process and weigh the benefits and drawbacks of homemade kefir.
Understanding Store-Bought Kefir Basics
Store-bought kefir is a convenient option for those looking to incorporate this probiotic-rich beverage into their diet without the hassle of home fermentation. Commercial kefir is typically made by fermenting milk with a combination of bacteria and yeast cultures, resulting in a tangy, slightly effervescent drink. Available in various flavors and formulations, store-bought kefir can be found in most grocery stores.
One of the primary advantages of store-bought kefir is its consistency. Manufacturers adhere to strict quality control measures to ensure that each batch meets specific standards for taste, texture, and probiotic content. This reliability makes store-bought kefir an attractive option for consumers who may be new to fermented foods.
However, not all store-bought kefir is created equal. Some brands may add sweeteners, flavorings, or preservatives that can alter the nutritional profile of the product. It’s essential to read labels carefully and choose kefir that contains live and active cultures without unnecessary additives.
Another consideration is the shelf life of store-bought kefir. While commercial kefir is pasteurized to extend its shelf life, this process can also reduce the number of live probiotics. As a result, the probiotic content of store-bought kefir may be lower than that of homemade versions.
Despite these potential drawbacks, store-bought kefir remains a popular choice for its convenience and accessibility. For those interested in making kefir at home, understanding the basics of commercial kefir is the first step in evaluating its viability as a starter culture.
Key Ingredients in Commercial Kefir
The primary ingredients in commercial kefir are milk and a starter culture containing a blend of bacteria and yeast. The type of milk used can vary, including cow’s milk, goat’s milk, and even non-dairy alternatives like coconut or almond milk. The choice of milk can influence the flavor and texture of the final product.
The starter culture is the heart of kefir production. It typically includes a mix of lactic acid bacteria (such as Lactobacillus and Streptococcus species) and yeasts (such as Saccharomyces and Candida species). These microorganisms work synergistically to ferment the milk, producing lactic acid, carbon dioxide, and various bioactive compounds that contribute to kefir’s unique properties.
In addition to the core ingredients, some commercial kefir products may contain added sweeteners, flavorings, and stabilizers. Common sweeteners include sugar, honey, and fruit juices, while flavorings can range from vanilla and chocolate to fruit extracts. Stabilizers like pectin or guar gum are sometimes used to improve the texture and consistency of the product.
It’s important to note that the presence of these additional ingredients can impact the fermentation process if you plan to use store-bought kefir as a starter culture for homemade kefir. Sweeteners, for example, can alter the balance of bacteria and yeast, potentially affecting the final product’s taste and probiotic content.
Furthermore, some commercial kefir is pasteurized after fermentation to extend shelf life. While this process kills harmful bacteria, it can also reduce the number of live probiotics. Therefore, when selecting store-bought kefir for home fermentation, it’s crucial to choose products labeled as containing live and active cultures.
Understanding the key ingredients in commercial kefir helps in making informed decisions about using it as a starter culture for homemade kefir. By selecting high-quality, minimally processed kefir, you can increase the likelihood of successful fermentation at home.
Evaluating the Viability of Store-Bought Kefir
The viability of using store-bought kefir as a starter culture for homemade kefir depends on several factors, including the presence of live and active cultures, the type of milk used, and the absence of additives that could interfere with fermentation. Evaluating these factors is crucial to determine whether store-bought kefir can effectively kickstart the fermentation process at home.
First and foremost, check the label for live and active cultures. This designation indicates that the kefir contains living microorganisms capable of fermenting milk. Without these live cultures, the kefir will not be able to initiate the fermentation process necessary for making homemade kefir.
Next, consider the type of milk used in the store-bought kefir. While cow’s milk and goat’s milk are commonly used in commercial kefir, non-dairy alternatives may not always provide the same fermentation results. If you plan to use non-dairy milk for homemade kefir, ensure that the store-bought kefir you choose is compatible with your preferred milk type.
The presence of additives such as sweeteners, flavorings, and stabilizers can also impact the fermentation process. These ingredients may alter the balance of bacteria and yeast, potentially leading to inconsistent or undesirable results. Opt for plain, unsweetened kefir with minimal additives to maximize the chances of successful fermentation.
Another consideration is the freshness of the store-bought kefir. The longer kefir sits on the shelf, the fewer live probiotics it may contain. For best results, use the freshest kefir available, ideally within a few days of purchase.
Finally, it’s essential to understand that using store-bought kefir as a starter culture may not always yield the same results as using traditional kefir grains. Kefir grains are a symbiotic culture of bacteria and yeast (SCOBY) that have been used for centuries to make kefir. While store-bought kefir can be a convenient alternative, it may not provide the same depth of flavor or probiotic diversity as kefir made with traditional grains.
By carefully evaluating the viability of store-bought kefir, you can make an informed decision about whether it is a suitable option for making homemade kefir. With the right product and proper technique, it is possible to create delicious and probiotic-rich kefir at home.
Step-by-Step Guide to Making Kefir at Home
Making kefir at home using store-bought kefir as a starter culture is a straightforward process that requires minimal equipment and ingredients. Follow these steps to create your own homemade kefir:
-
Gather Your Ingredients and Equipment: You will need store-bought kefir with live and active cultures, fresh milk (cow, goat, or non-dairy), a clean glass jar, a breathable cloth or coffee filter, and a rubber band.
-
Prepare the Milk: Pour the desired amount of fresh milk into the clean glass jar. The quantity of milk can vary depending on how much kefir you want to make, but a good starting point is one quart (approximately one liter).
-
Add the Store-Bought Kefir: For every quart of milk, add about 1/4 cup (60 ml) of store-bought kefir. This ratio can be adjusted based on your preference and the strength of the kefir culture.
-
Mix and Cover: Stir the milk and kefir mixture gently to ensure the kefir is evenly distributed. Cover the jar with the breathable cloth or coffee filter and secure it with a rubber band. This allows air to circulate while keeping contaminants out.
-
Ferment: Place the jar in a warm, dark place with a consistent temperature of around 68-72°F (20-22°C). Allow the mixture to ferment for 24-48 hours. The fermentation time can be adjusted based on your taste preference; a longer fermentation will result in a tangier kefir.
-
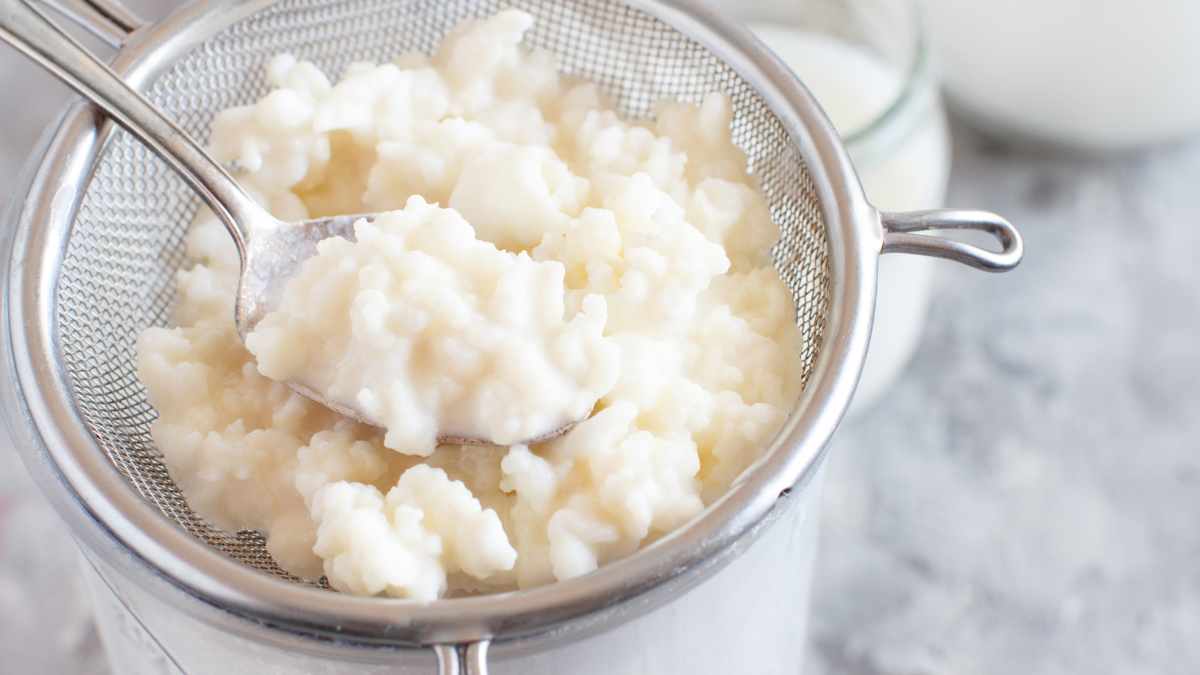
Strain and Store: After the fermentation period, check the kefir for desired taste and consistency. If it has thickened and developed a tangy flavor, it is ready. Strain the kefir through a fine mesh strainer to remove any curds or lumps. Transfer the finished kefir to a clean container and store it in the refrigerator.
By following these steps, you can create homemade kefir using store-bought kefir as a starter culture. The process is simple and allows for customization based on your taste preferences and dietary needs.
Troubleshooting Common Kefir-Making Issues
While making kefir at home is generally straightforward, you may encounter some common issues that can affect the quality of your final product. Here are some troubleshooting tips to help you address these problems:
-
Kefir Not Thickening: If your kefir remains thin and does not thicken after the fermentation period, it may be due to insufficient live cultures in the store-bought kefir. Ensure you are using kefir labeled with live and active cultures and consider increasing the amount of kefir used as a starter.
-
Off-Flavors or Odors: Unpleasant flavors or odors can result from contamination or improper fermentation conditions. Make sure all equipment is thoroughly cleaned and sanitized before use. Additionally, ensure the fermentation environment is free from strong odors and contaminants.
-
Separation of Whey and Curds: It’s normal for kefir to separate into whey (liquid) and curds (solid) during fermentation. If this occurs, simply stir or shake the kefir to recombine the components before straining. If separation is excessive, it may indicate over-fermentation; reduce the fermentation time in future batches.
-
Mold Growth: Mold growth on the surface of kefir is a sign of contamination and should be discarded immediately. To prevent mold, ensure the jar is covered with a breathable cloth to allow air circulation while keeping contaminants out. Also, maintain a clean fermentation environment.
-
Inconsistent Results: If your kefir batches vary in taste and texture, it may be due to variations in fermentation time, temperature, or the quality of the starter culture. Keep detailed notes on your process and make adjustments as needed to achieve consistent results.
-
Kefir Grains Not Multiplying: If you are using kefir grains and they are not multiplying, it could be due to the type of milk used or suboptimal fermentation conditions. Ensure you are using fresh, high-quality milk and maintaining the appropriate temperature range for fermentation.
By addressing these common issues, you can improve the quality and consistency of your homemade kefir. With practice and attention to detail, you can enjoy the benefits of this probiotic-rich beverage.
Benefits and Drawbacks of Homemade Kefir
Homemade kefir offers several benefits compared to store-bought versions, but it also comes with some potential drawbacks. Understanding these pros and cons can help you decide whether making kefir at home is the right choice for you.
Benefits:
-
Cost-Effective: Making kefir at home can be more economical than purchasing store-bought kefir, especially if you consume it regularly. The initial investment in ingredients and equipment is relatively low, and the ongoing cost of milk and starter culture is minimal.
-
Customization: Homemade kefir allows you to customize the flavor, consistency, and probiotic content to suit your preferences. You can experiment with different types of milk, fermentation times, and additives to create a product that meets your specific needs.
-
Higher Probiotic Content: Homemade kefir made with traditional kefir grains often contains a higher diversity and quantity of probiotics compared to store-bought versions. This can enhance the potential health benefits of the beverage.
-
Control Over Ingredients: By making kefir at home, you have complete control over the ingredients used. This allows you to avoid added sugars, preservatives, and other additives commonly found in commercial kefir.
-
Sustainability: Making kefir at home reduces the need for single-use packaging associated with store-bought products. This can contribute to a more sustainable lifestyle by minimizing waste.
Drawbacks:
-
Time-Consuming: The fermentation process requires time and attention, which may not be practical for everyone. While the hands-on time is minimal, the waiting period for fermentation can be inconvenient.
-
Inconsistent Results: Achieving consistent results with homemade kefir can be challenging, especially for beginners. Variations in fermentation conditions, milk quality, and starter culture can lead to differences in taste and texture.
-
Initial Learning Curve: Making kefir at home involves a learning curve, particularly when using traditional kefir grains. Understanding the fermentation process and troubleshooting common issues may require some trial and error.
-
Storage and Maintenance: Proper storage and maintenance of kefir grains are essential to ensure their longevity and effectiveness. This can be an additional responsibility for those who prefer a more hands-off approach.
-
Potential for Contamination: Home fermentation carries a risk of contamination if proper hygiene and sanitation practices are not followed. This can result in spoiled kefir or the growth of harmful microorganisms.
By weighing the benefits and drawbacks, you can make an informed decision about whether homemade kefir is a suitable option for you. With the right approach and attention to detail, many people find that the advantages of homemade kefir outweigh the potential challenges.
Conclusion:
Making kefir at home using store-bought kefir as a starter culture is a viable option for those looking to enjoy the benefits of this probiotic-rich beverage. By understanding the basics of commercial kefir, evaluating its key ingredients, and following a step-by-step guide, you can successfully create homemade kefir. While there may be some common issues to troubleshoot, the benefits of homemade kefir, such as cost-effectiveness, customization, and higher probiotic content, often make it a worthwhile endeavor. However, it’s essential to consider the potential drawbacks, including the time commitment and risk of contamination, to ensure a successful and enjoyable kefir-making experience.
Read More…
- Kefir: The Champagne of Dairy – Healthline provides an in-depth look at kefir, its health benefits, and how it compares to other fermented foods.
- How to Make Milk Kefir – Cultures for Health offers a comprehensive guide to making milk kefir at home, including troubleshooting tips and variations.
- The Benefits of Kefir – WebMD explores the various health benefits of kefir, supported by scientific research.
- Kefir Grains vs. Powdered Kefir Starter – Yemoos Nourishing Cultures compares the use of kefir grains and powdered starter cultures for homemade kefir.
- Fermentation Basics – The Kitchn provides an overview of fermentation basics, including tips for successful home fermentation.