
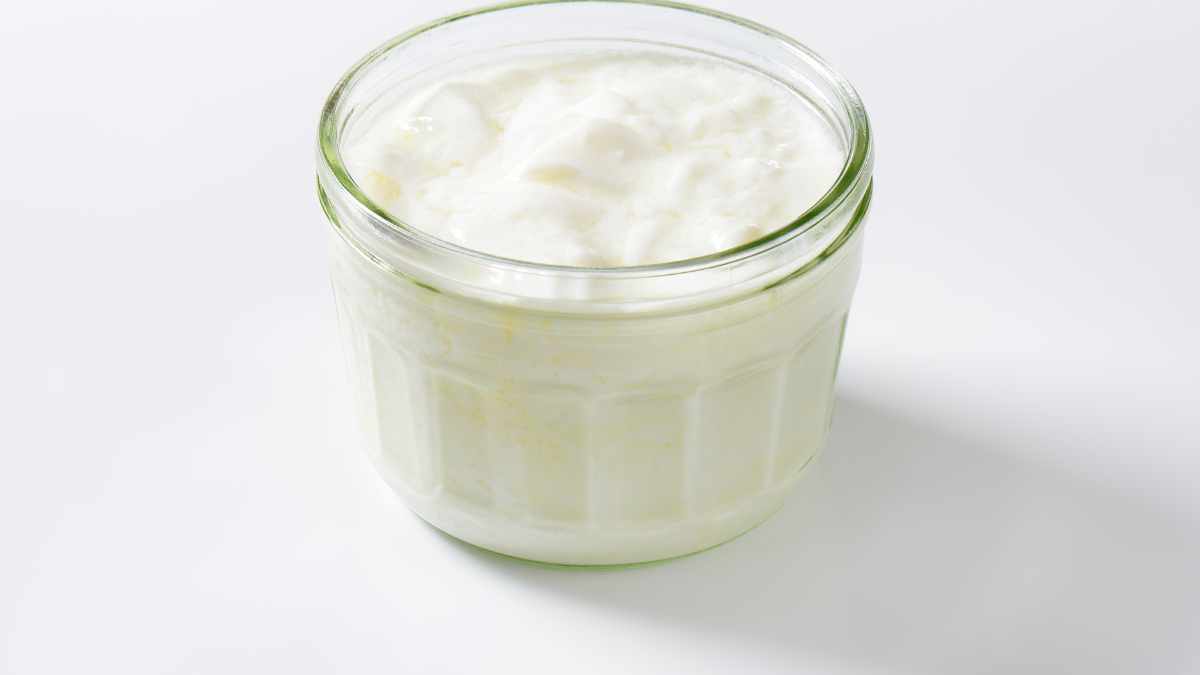

Using Store-Bought Kefir to Culture More Kefir
Introduction: Kefir, a fermented milk drink rich in probiotics, has gained widespread popularity for its numerous health benefits. While store-bought kefir is convenient, many enthusiasts prefer to culture their own kefir at home. This not only allows for customization but also ensures a fresher product. In this article, we will explore how to use store-bought kefir to culture more kefir, delving into the necessary equipment, step-by-step instructions, troubleshooting tips, and the benefits of homemade kefir.
Introduction to Store-Bought Kefir Culturing
Culturing kefir at home using store-bought kefir is an accessible and cost-effective way to enjoy this probiotic-rich beverage. Store-bought kefir contains live cultures that can be used to ferment fresh milk, creating a continuous supply of kefir. This process is not only simple but also allows for greater control over the fermentation process, resulting in a product tailored to your taste preferences.
The primary advantage of using store-bought kefir as a starter culture is the convenience it offers. Unlike traditional kefir grains, which require specific handling and maintenance, store-bought kefir is readily available and easy to use. This makes it an ideal option for beginners who are new to the world of fermentation.
Another benefit of using store-bought kefir is the consistency it provides. Commercial kefir products are manufactured under controlled conditions, ensuring that the cultures are active and viable. This reliability can be particularly beneficial for those who are just starting out and may not yet be familiar with the intricacies of kefir culturing.
It’s important to note that not all store-bought kefir products are suitable for culturing. When selecting a kefir to use as a starter, look for products that are labeled as containing live and active cultures. Avoid kefir that has been pasteurized after fermentation, as this process kills the beneficial bacteria and yeasts necessary for culturing.
In addition to selecting the right store-bought kefir, it’s also crucial to use high-quality milk for culturing. Whole milk is generally recommended, as it provides the best texture and flavor. However, those who are lactose intolerant or prefer alternative milk options can experiment with different types of milk, such as goat’s milk or lactose-free milk.
Ultimately, culturing kefir at home using store-bought kefir is a rewarding process that allows you to enjoy a fresh, probiotic-rich beverage tailored to your preferences. With the right equipment and ingredients, you can easily create a continuous supply of homemade kefir.
Essential Equipment and Ingredients Needed
To successfully culture kefir at home using store-bought kefir, you’ll need a few essential pieces of equipment and ingredients. Having the right tools on hand will ensure a smooth and efficient fermentation process, resulting in high-quality kefir.
First and foremost, you’ll need a clean glass jar with a lid. Glass is the preferred material for culturing kefir, as it is non-reactive and does not leach any chemicals into the milk. A quart-sized jar is typically sufficient for most home culturing needs, but you can adjust the size based on the amount of kefir you plan to make.
A plastic or wooden spoon is also necessary for stirring the kefir mixture. Avoid using metal utensils, as they can react with the acidic environment of the kefir and potentially harm the live cultures. A non-metallic strainer is another essential tool, as it will help you separate the cultured kefir from any remaining solids.
In addition to the equipment, you’ll need a few key ingredients. As mentioned earlier, store-bought kefir with live and active cultures is essential for starting the fermentation process. You’ll also need fresh milk, preferably whole milk, to provide the necessary nutrients for the cultures to thrive.
A thermometer can be a useful tool for monitoring the temperature of the milk. Kefir cultures best at room temperature, around 68-78°F (20-25°C). Ensuring that the milk is within this temperature range will promote optimal fermentation and prevent any unwanted microbial growth.
Cheesecloth or a breathable cloth cover is another important item. Covering the jar with a breathable cloth allows for proper airflow while keeping contaminants out. Secure the cloth with a rubber band or string to keep it in place during the fermentation process.
Finally, having a clean, dark space to store your kefir during fermentation is crucial. Kefir cultures best in a dark environment, away from direct sunlight and temperature fluctuations. A cupboard or pantry is often an ideal location for fermenting kefir.
By gathering these essential tools and ingredients, you’ll be well-prepared to start culturing kefir at home using store-bought kefir. With the right setup, you can ensure a successful fermentation process and enjoy fresh, homemade kefir.
Step-by-Step Guide to Culturing Kefir
Culturing kefir at home using store-bought kefir is a straightforward process that involves a few simple steps. By following this step-by-step guide, you can create a continuous supply of fresh, probiotic-rich kefir.
-
Prepare Your Equipment and Ingredients: Start by gathering all the necessary equipment and ingredients. Ensure that your glass jar, spoon, and strainer are clean and ready to use. Measure out the desired amount of fresh milk and have your store-bought kefir with live and active cultures on hand.
-
Combine the Milk and Kefir: Pour the fresh milk into the clean glass jar. The amount of milk you use will depend on how much kefir you want to make. For a quart-sized jar, start with about 3 cups of milk. Add a small amount of store-bought kefir to the milk, using a ratio of approximately 1 tablespoon of kefir per cup of milk. Stir gently with a plastic or wooden spoon to combine.
-
Cover and Ferment: Cover the jar with a breathable cloth, such as cheesecloth, and secure it with a rubber band or string. Place the jar in a dark, room-temperature location, such as a cupboard or pantry. Allow the mixture to ferment for 24-48 hours, depending on your taste preferences. The longer the fermentation time, the tangier the kefir will become.
-
Check and Strain the Kefir: After the fermentation period, check the consistency of the kefir. It should be thick and slightly effervescent. If it has reached your desired taste and texture, use a non-metallic strainer to separate the cultured kefir from any remaining solids. Pour the kefir into a clean container for storage.
-
Store the Finished Kefir: Transfer the strained kefir to a clean glass bottle or jar with a lid. Store the kefir in the refrigerator, where it will continue to ferment slowly and develop its flavor. Homemade kefir can be stored in the refrigerator for up to two weeks.
-
Repeat the Process: To create a continuous supply of kefir, save a small amount of the finished kefir to use as a starter for your next batch. Repeat the process using the saved kefir and fresh milk, following the same steps outlined above.
By following this step-by-step guide, you can easily culture kefir at home using store-bought kefir. With practice, you’ll be able to fine-tune the fermentation process to suit your taste preferences and enjoy a steady supply of homemade kefir.
Troubleshooting Common Kefir Culturing Issues
While culturing kefir at home is generally a straightforward process, you may encounter some common issues along the way. Understanding how to troubleshoot these problems can help ensure a successful fermentation and high-quality kefir.
One common issue is a separation of the kefir into curds and whey. This can occur if the fermentation time is too long or if the temperature is too warm. If you notice separation, simply stir the kefir to recombine the curds and whey. Adjusting the fermentation time or temperature can help prevent this issue in future batches.
Another problem you might encounter is a lack of fermentation activity. If your kefir is not thickening or developing the characteristic tangy flavor, it may be due to inactive cultures. Ensure that you are using store-bought kefir with live and active cultures. Additionally, check the temperature of the fermentation environment, as kefir cultures best at room temperature.
A sour or off taste in the kefir can be a sign of contamination. This can occur if the equipment or ingredients are not properly sanitized. To prevent contamination, always use clean equipment and high-quality ingredients. If you suspect contamination, discard the batch and start fresh with new ingredients.
Mold growth on the surface of the kefir is another potential issue. Mold can develop if the kefir is exposed to contaminants or if the fermentation environment is too warm and humid. If you see mold, discard the batch immediately and thoroughly clean your equipment before starting a new batch.
If your kefir has an overly yeasty or alcoholic taste, it may be fermenting too quickly. This can happen if the temperature is too warm or if the fermentation time is too long. To address this issue, try fermenting the kefir in a cooler location or reducing the fermentation time.
Lastly, if your kefir is too thin or watery, it may be due to insufficient fermentation time or an imbalance in the cultures. Ensure that you are using the correct ratio of kefir to milk and allow the mixture to ferment for the appropriate amount of time. If the kefir is still too thin, try increasing the amount of store-bought kefir used as a starter.
By understanding and troubleshooting these common kefir culturing issues, you can improve your fermentation process and enjoy consistently high-quality homemade kefir.
Benefits of Homemade Kefir Over Store-Bought
Culturing kefir at home offers several advantages over purchasing store-bought kefir. From cost savings to customization, homemade kefir provides a range of benefits that make it a worthwhile endeavor.
One of the most significant benefits of homemade kefir is the cost savings. Store-bought kefir can be relatively expensive, especially if consumed regularly. By culturing kefir at home, you can produce a continuous supply of kefir at a fraction of the cost, making it a more economical option.
Another advantage of homemade kefir is the ability to customize the flavor and texture. Store-bought kefir often has a standardized taste and consistency, whereas homemade kefir can be tailored to your preferences. By adjusting the fermentation time and experimenting with different types of milk, you can create a kefir that suits your taste.
Homemade kefir also offers greater control over the ingredients. Many commercial kefir products contain added sugars, flavors, and preservatives. When you culture kefir at home, you have complete control over the ingredients, allowing you to create a pure and natural product without any unwanted additives.
The probiotic content of homemade kefir is another notable benefit. While store-bought kefir contains beneficial bacteria and yeasts, the fermentation process at home can result in a higher concentration of probiotics. This is because homemade kefir is often fresher and undergoes a more natural fermentation process.
Additionally, culturing kefir at home can be a rewarding and educational experience. The process of fermentation is a fascinating aspect of food science, and making your own kefir allows you to learn more about the microbial world and the role of probiotics in health. It can also be a fun and engaging activity to share with family and friends.
Finally, homemade kefir contributes to sustainability and reduces waste. By reusing a small amount of kefir from each batch as a starter for the next, you can minimize packaging waste associated with store-bought kefir. This environmentally friendly approach aligns with a more sustainable lifestyle.
In summary, homemade kefir offers numerous benefits, including cost savings, customization, control over ingredients, higher probiotic content, educational opportunities, and sustainability. These advantages make culturing kefir at home a valuable and enjoyable practice.
Storing and Maintaining Your Kefir Culture
Proper storage and maintenance of your kefir culture are essential for ensuring a continuous supply of high-quality kefir. By following a few key practices, you can keep your kefir culture healthy and active.
Once you have cultured your kefir, it’s important to store it correctly to maintain its freshness and probiotic content. Transfer the finished kefir to a clean glass bottle or jar with a lid and store it in the refrigerator. Refrigeration slows down the fermentation process, allowing the kefir to stay fresh for up to two weeks.
To maintain an active kefir culture, it’s crucial to regularly feed the cultures with fresh milk. If you plan to make kefir regularly, save a small amount of the finished kefir to use as a starter for your next batch. This practice ensures that the cultures remain active and viable for future fermentations.
If you need to take a break from making kefir, you can store the kefir culture in the refrigerator for an extended period. Simply mix a small amount of kefir with fresh milk in a clean jar, cover it with a breathable cloth, and place it in the refrigerator. This will keep the cultures dormant but alive. When you’re ready to start fermenting again, bring the culture back to room temperature and feed it with fresh milk.
It’s also important to periodically refresh your kefir culture to maintain its strength and vitality. Every few weeks, discard a portion of the culture and replace it with fresh milk. This practice helps prevent the buildup of unwanted bacteria and yeasts, ensuring a healthy and robust kefir culture.
If you notice any changes in the appearance, smell, or taste of your kefir, it may be time to refresh the culture or start with a new batch of store-bought kefir. Signs of an unhealthy culture include an overly sour or off taste, mold growth, or a lack of fermentation activity.
By following these storage and maintenance practices, you can keep your kefir culture healthy and active, ensuring a continuous supply of fresh, homemade kefir. Proper care and attention to your kefir culture will result in a high-quality product that you can enjoy for years to come.
Conclusion: Culturing kefir at home using store-bought kefir is a simple and rewarding process that offers numerous benefits. By following the steps outlined in this article and troubleshooting any common issues, you can create a continuous supply of fresh, probiotic-rich kefir tailored to your preferences. With the right equipment, ingredients, and maintenance practices, homemade kefir can be a cost-effective, customizable, and sustainable addition to your diet.
Read More…
- The Benefits of Kefir – A comprehensive overview of the health benefits of kefir, including its probiotic content and potential health benefits.
- How to Make Kefir – A detailed guide on making kefir at home, including step-by-step instructions and troubleshooting tips.
- Kefir vs. Yogurt: How They Compare – An article comparing the nutritional profiles and health benefits of kefir and yogurt.
- The Science of Fermentation – A scientific paper exploring the fermentation process and the role of probiotics in health.
- Sustainable Fermentation Practices – An article discussing the environmental benefits of home fermentation and sustainable practices for making kefir and other fermented foods.